
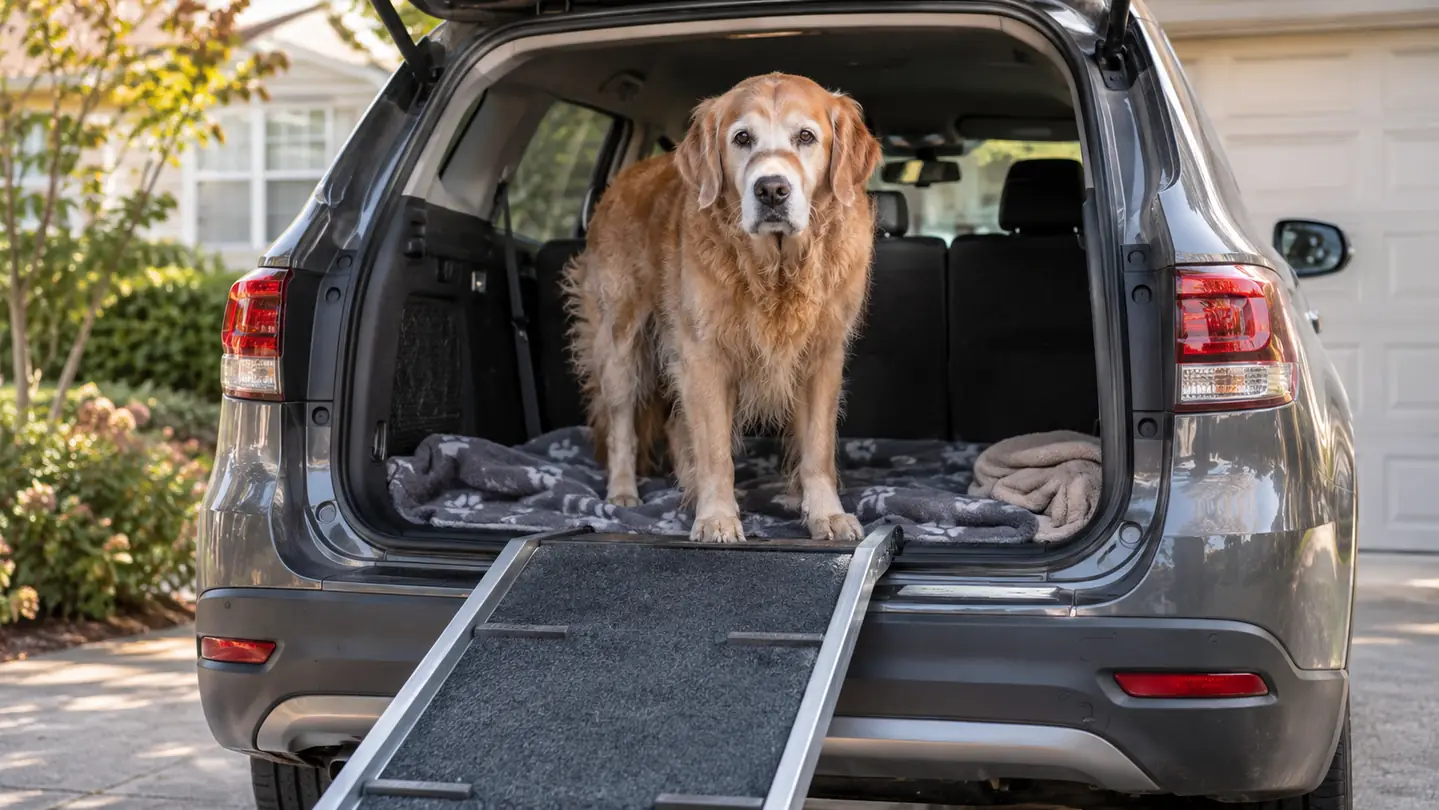
The first time Juniper refused to jump into the back of the SUV, I stood there with the hatch open and my hands on my hips. She is a 12-year-old golden retriever mix, about 64 pounds, and she has arthritis in both hips. For years she hopped in like it was nothing. Then one morning she just stood there, front paws on the bumper, back legs trembling, looking at me like she was sorry. I lifted her once, and my back let me know that was not a long-term plan. Our vet said the same thing I already suspected: jumping down is hard on arthritic hips, and jumping up is worse. The answer was a ramp, and after a lot of measuring and reading, I settled on the PetSafe Happy Ride Extra Long Telescoping Dog Ramp. This is how we taught Juniper to use it, step by step, in case you are trying to figure out the same thing with your own dog.
I am a retired registered nurse, not a vet, so I will tell you what I tell every family I ever worked with: start with your own vet. Juniper's arthritis was diagnosed with X-rays when she was about ten, and she takes joint supplements and an anti-inflammatory that our vet prescribed. I spent thirty years on orthopedic and rehab floors, so I have seen what happens to joints when people keep doing the same motion over and over. Dogs are no different. Every jump out of the car is a small impact, and over the years those impacts add up. The ramp does not replace any of that. It just takes the worst of the load off her hips when she gets in and out of the car.
The ramp that got Juniper back in the SUV
The PetSafe Happy Ride extends from 47 to 87 inches, holds up to 300 pounds, and weighs 9.7 kg. It has rubber feet, a high-traction surface, and side rails. If you are measuring your own car, this is the one I keep recommending.
Amazon Check Today's Price on Amazon →Step 1: Measure your car and your dog before you buy anything
The PetSafe Happy Ride extends from 47 to 87 inches, which covers everything from a low crossover to a full-size truck. For our mid-size SUV with a rear hatch, I set it to about 70 inches and it reached the bumper with a comfortable angle. The ramp is 20 inches wide, which gave Juniper plenty of room to walk with her slightly wide stance. It is also 4 inches high at its tallest point, so it does not sit too tall on the ground, and the aluminum frame is light enough for me to carry.
Before you buy, measure the height from the ground to the lip of your cargo floor. That number tells you how much ramp you need. The Happy Ride's 47 to 87 inch range covered our car with room to spare, but I still measured first because a ramp that is too short forces a steeper angle, and a steeper angle is harder on arthritic hips. I used a tape measure and wrote the number down, because I did not want to guess and end up with a ramp that was too short or too long.
Also check the width of your dog's stance. Juniper is a 64-pound golden retriever mix with hips that have gotten a little narrow over the years, and the 20-inch-wide ramp gave her room to place each paw with confidence. A narrow ramp can make a nervous dog feel like they are walking a tightrope.
Step 2: Introduce the ramp on flat ground first
Do not start at the car. We spent three days with the ramp flat on the grass in the back yard. I put it on the ground, let Juniper sniff it, and then walked her across it with a treat at the far end. The high-traction surface gave her confidence, and the side rails kept her from stepping off. I also put a small mat under the bottom end so it would not sink into the soft ground.
The first few times, she acted like it was a strange bridge. She would put her front paws on it, then back off. I did not push. I just held a piece of chicken at the far end and waited. By day two, she was trotting across it for the treat, and by day three she would walk across it even when there was nothing waiting on the other side. The whole time, I kept my voice calm and did not make a big deal out of it.
Why flat ground first? Because the ramp is a new thing, and a dog with arthritis is already carrying a little fear about moving. Teaching her that the ramp is steady and safe before we added the height of the car meant she never associated the ramp with pain or wobble. That trust is the whole ballgame.
Step 3: Raise the low end before you raise the high end
Once she was comfortable on flat ground, I propped the low end of the ramp on the bottom porch step. The goal was a gentle incline, nothing steep. I walked her up and down that low slope a dozen times before we ever went near the SUV. I used the bottom porch step because it was the same height as the curb we would use at the car.
This is where I used the telescoping adjustment for the first time. The PetSafe Happy Ride locks at different lengths, and I kept it shorter for the low step, then extended it a little more each day. The latch held firmly, and the rubber feet stayed planted on the wood and grass. It took me about a minute to adjust, and that was with one hand holding a dog leash in the other.
A note on angle: a ramp that is too steep can be as hard on the hips as a jump. If your dog hesitates or refuses at the car, the ramp is probably too steep. Shorten the distance by moving the car, or look for a higher curb or step to rest the bottom of the ramp on. You want the angle to feel like a gentle hill, not a ladder.
Step 4: Teach the wait and okay at the hatch
At the car, I put the ramp in place with the hatch open, then had Juniper sit and wait while I tested it with my own weight. This is the nurse in me: check the equipment before you put the patient on it. I pressed down on the middle of the ramp, then stepped on it myself. It felt solid. I also checked the latch that holds the telescoping sections, because the last thing you want is a ramp that collapses under your dog.
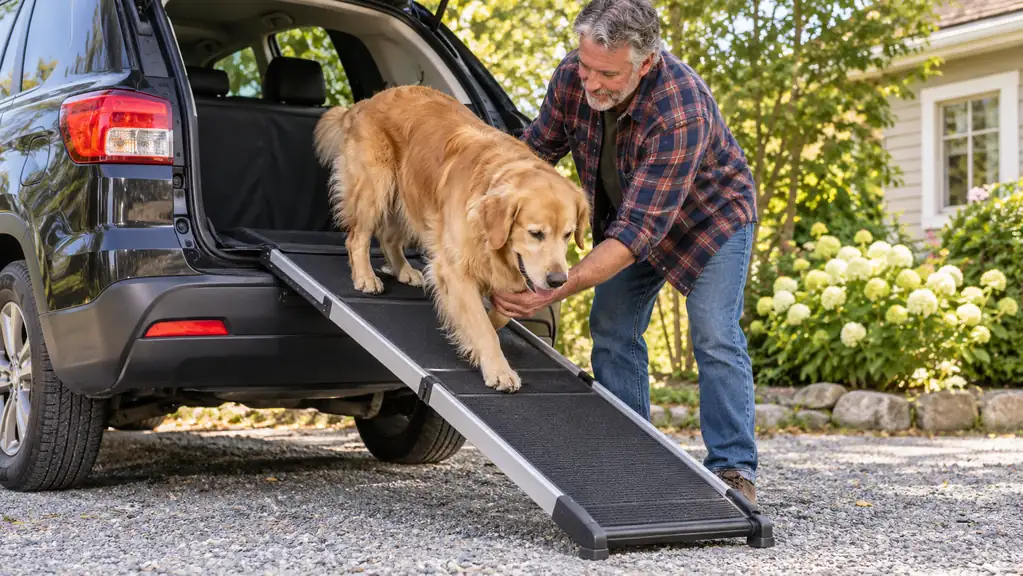
The rubber feet gripped the bumper and the ground, and the side rails gave Juniper something to see out of the corner of her eye. I gave her the word and let her walk up slowly, with me walking beside her, one hand under her chest. She did not need the help, but she liked knowing it was there. The high-traction surface meant her paws did not slip even when she paused halfway up.
Use the same word every time. I use okay, and I do not say it until the ramp is steady and she is looking at it. If she is not ready, we wait. Rushing this step is how dogs learn to fear the ramp. Give your dog as many days as they need.
Step 5: Practice the downhill, because that is where the hips feel it
Coming down is harder for an arthritic dog than going up. Going up, the front legs do most of the work. Coming down, the hind legs take the impact, and that is exactly where Juniper's arthritis lives. We practiced the downhill on the flat ramp first, then at the car. I learned this the hard way when I watched Juniper brace herself before stepping down from the porch. That brace is the body bracing for impact.
I kept a hand on her harness and let her set the pace. The first time, she stopped halfway down and looked at me. I did not pull her. I just stood with her until she was ready, then she finished on her own. Now she walks down at her own speed, and the ramp takes the jolt that her hips used to take. She even wags her tail at the bottom now, which is how I know she is not hurting.
If your dog refuses to come down, do not force it. Go back to the low step for a few more days. The goal is not speed. The goal is a dog who walks onto the ramp without hesitation, because hesitation is usually pain. And if the hesitation does not go away, call your vet. Pain relief and training go together.
Why a Ramp Instead of Lifting
I will be honest: in the beginning, I thought about just lifting Juniper into the car. She is 64 pounds, and I am 63 years old with a history of back trouble. The first time I lifted her, I felt a pull in my lower back that lasted for days. That was the moment I started looking for a ramp.
Lifting a heavy dog is not just hard on the human. It is also hard on the dog. When you lift an arthritic dog, they tense up, and that tension can make the pain worse. A ramp lets the dog move at their own pace, using their own legs, with the weight supported by the ramp instead of by your back or their joints.
What to Look For in a Ramp
The PetSafe Happy Ride has three features I would not give up: rubber feet that grip, a high-traction surface, and side rails. The rubber feet keep the ramp from sliding on the bumper or the ground. The high-traction surface gives the dog something to grip with their paws. And the side rails give them a visual edge so they do not feel like they are walking off the side.
Weight matters too. This ramp weighs 9.7 kg, which is manageable for me to carry from the back of the car to the hatch. The carry handle and latch are part of the included components, and I use them every time. If a ramp is too heavy, you will stop using it, and then it is not helping anyone.
What Else Helps
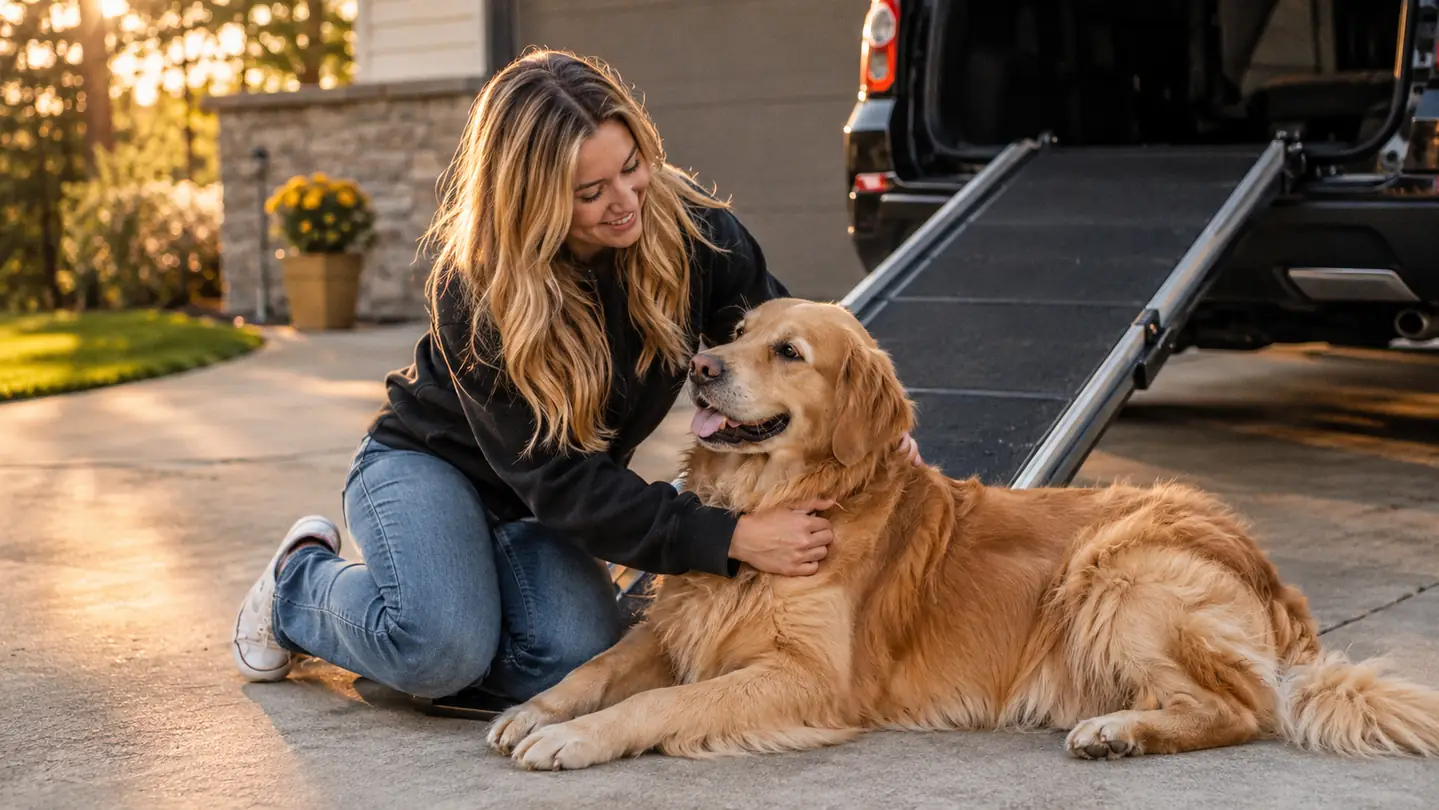
A ramp is not a cure. Juniper still gets stiff after naps, and she still takes the back porch steps slowly. What helped us: keeping her at a healthy weight, using a harness instead of a collar on walks, and asking our vet about joint supplements and an anti-inflammatory. The ramp is one piece of a bigger plan, but it is the piece that kept her riding in the car with me instead of staying home.
I lifted her once, and my back let me know that was not a long-term plan.
Give your dog the ramp, not the lift
The PetSafe Happy Ride is the ramp we use every single day. It extends from 47 to 87 inches, holds up to 300 pounds, and weighs 9.7 kg, so you can carry it to the hatch without a struggle. Measure your car, take it slow, and let your dog learn at their own pace.
Amazon Check Today's Price on Amazon →